I have a vintage hers and his pattern and a short stitch tutorial for you today!
Whenever I have a wedding shower to attend, this is my go to gift.
I also encourage you to think a little further when using these. You don’t just have to embroider one of each. Make yourself two “hers” cases or stitch two “Mr” cases for your favorite couple that is getting hitched. Bring it into the 21st Century y’all!

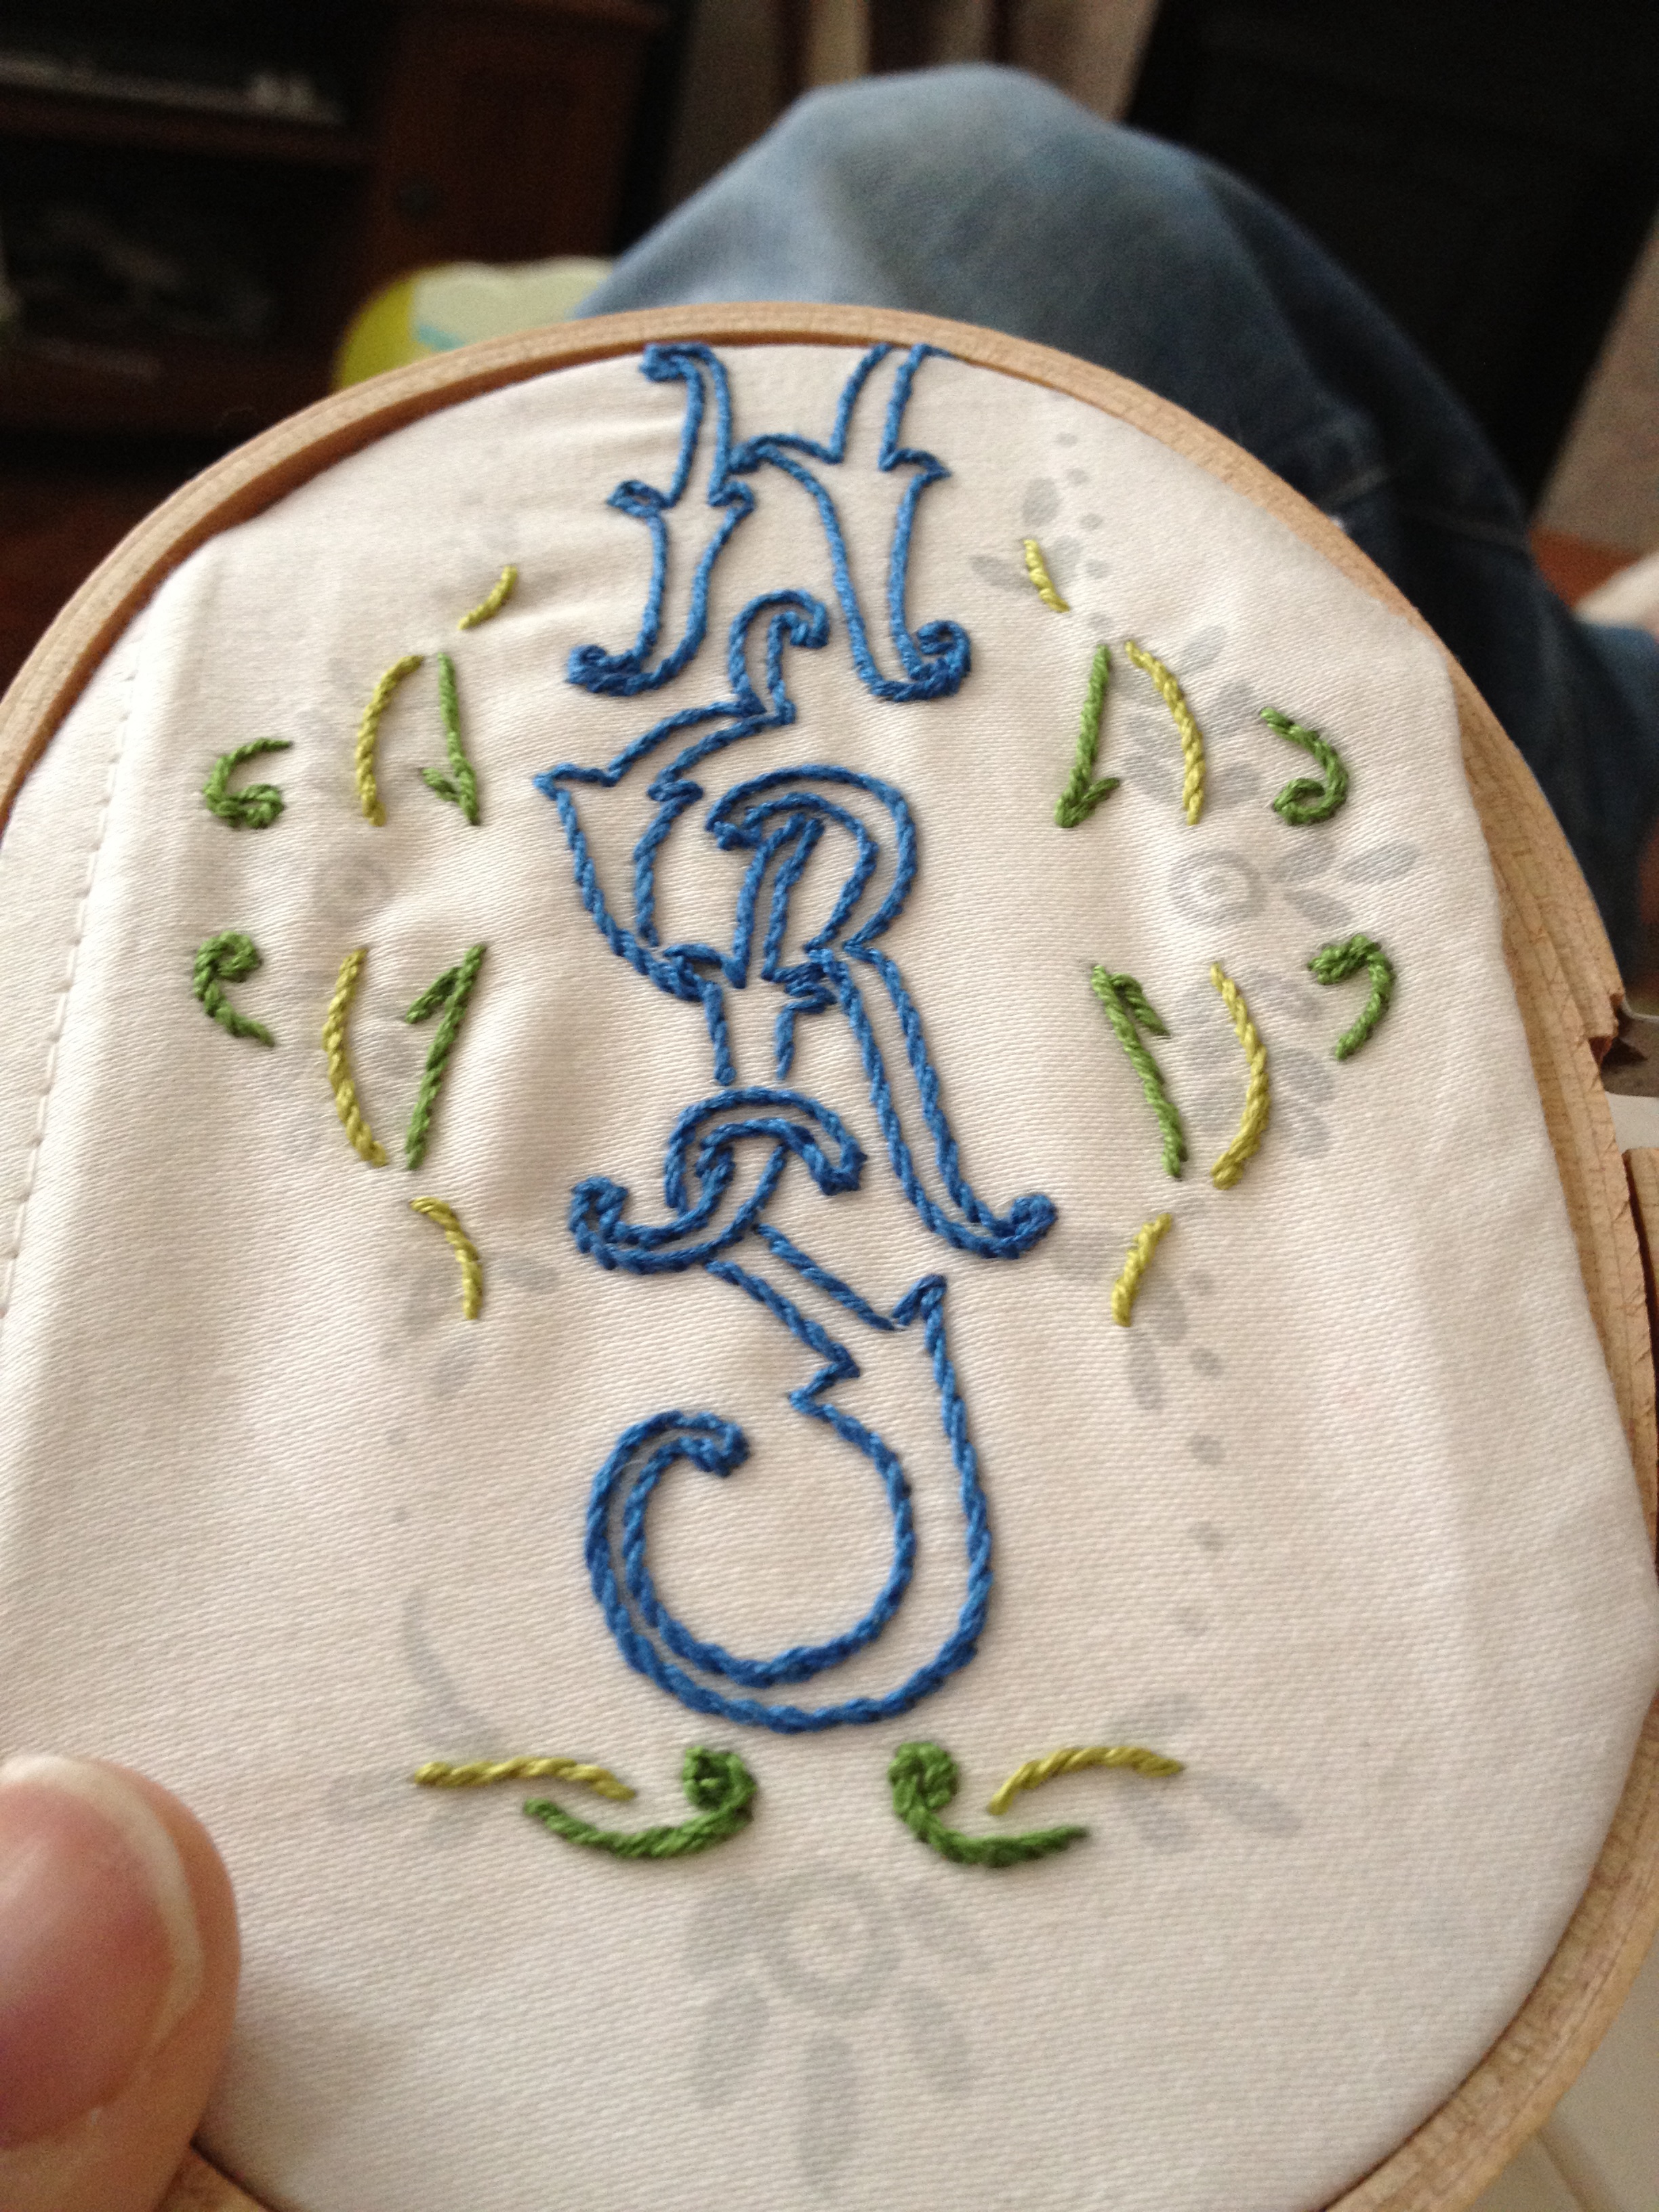
The pattern I chose for today is prefect for a beginning stitcher; as it uses the core basic stitches that I teach in a beginner class (back, stem, daisy and french knot) but allows room to get fancier. (That’s where our tutorial comes in!)

Today’s pattern is originally from Superior Transfer Patterns. Superior began producing embroidery transfer patterns in the mid 1930s. It seems that they sold exclusively in Sears department stores and perhaps even “copied” designs from larger pattern companies. They were not as big as Vogart and they weren’t in business as long.
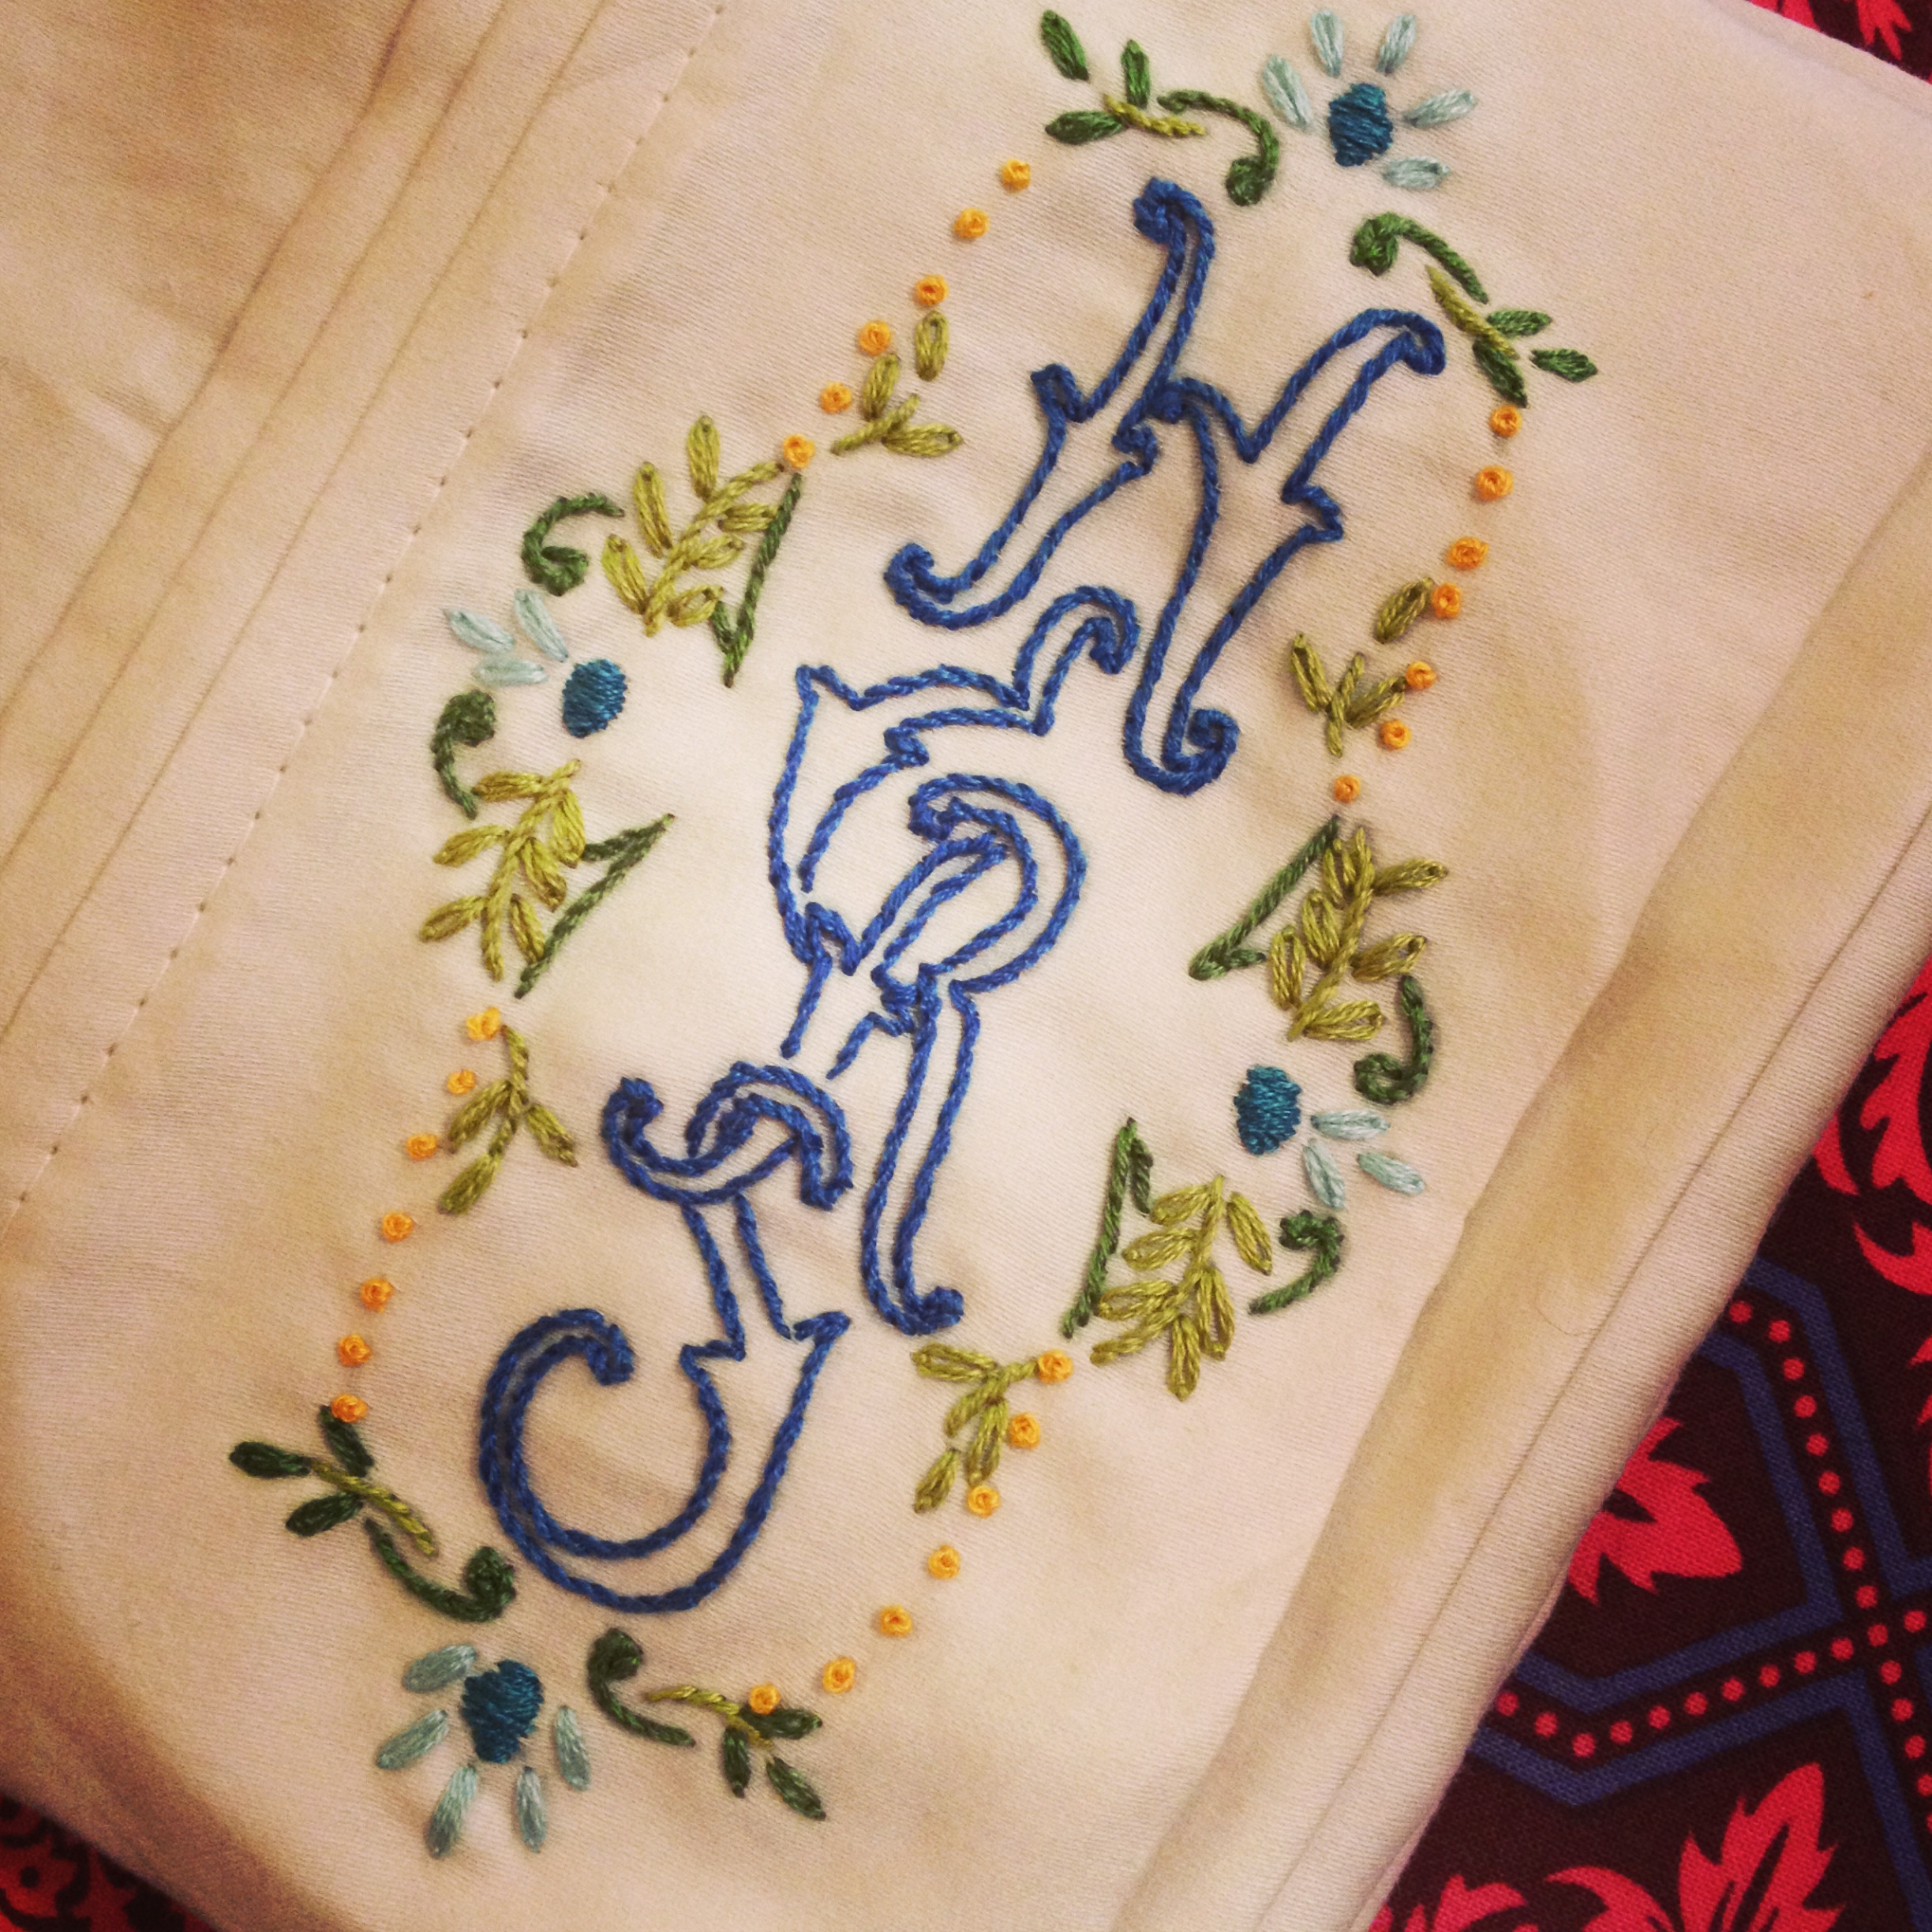
So, the design elements are the same, yet this pattern image says “Mr. and Mrs.” and not “Hers and His” like my examples and the PDF pattern that is below. I am curious to know which was the original design. I have yet to find a vintage image of the “Hers and His” pattern. Rest assured, I will update here if one is found!
I am learning that these pattern companies often reproduced one another’s designs and that one company may have reissued a design several times. This makes the research end a little tricky.

I like this pattern because it is elegant and thus, looks a little fancy for a shower or wedding gift. Notice the rosettes on the sides and top and bottom? In the PDF pattern I’ve created these are shown as circles with a french knot in the middle. This would be a wonderful spot for the very popular woven wheel stitch!
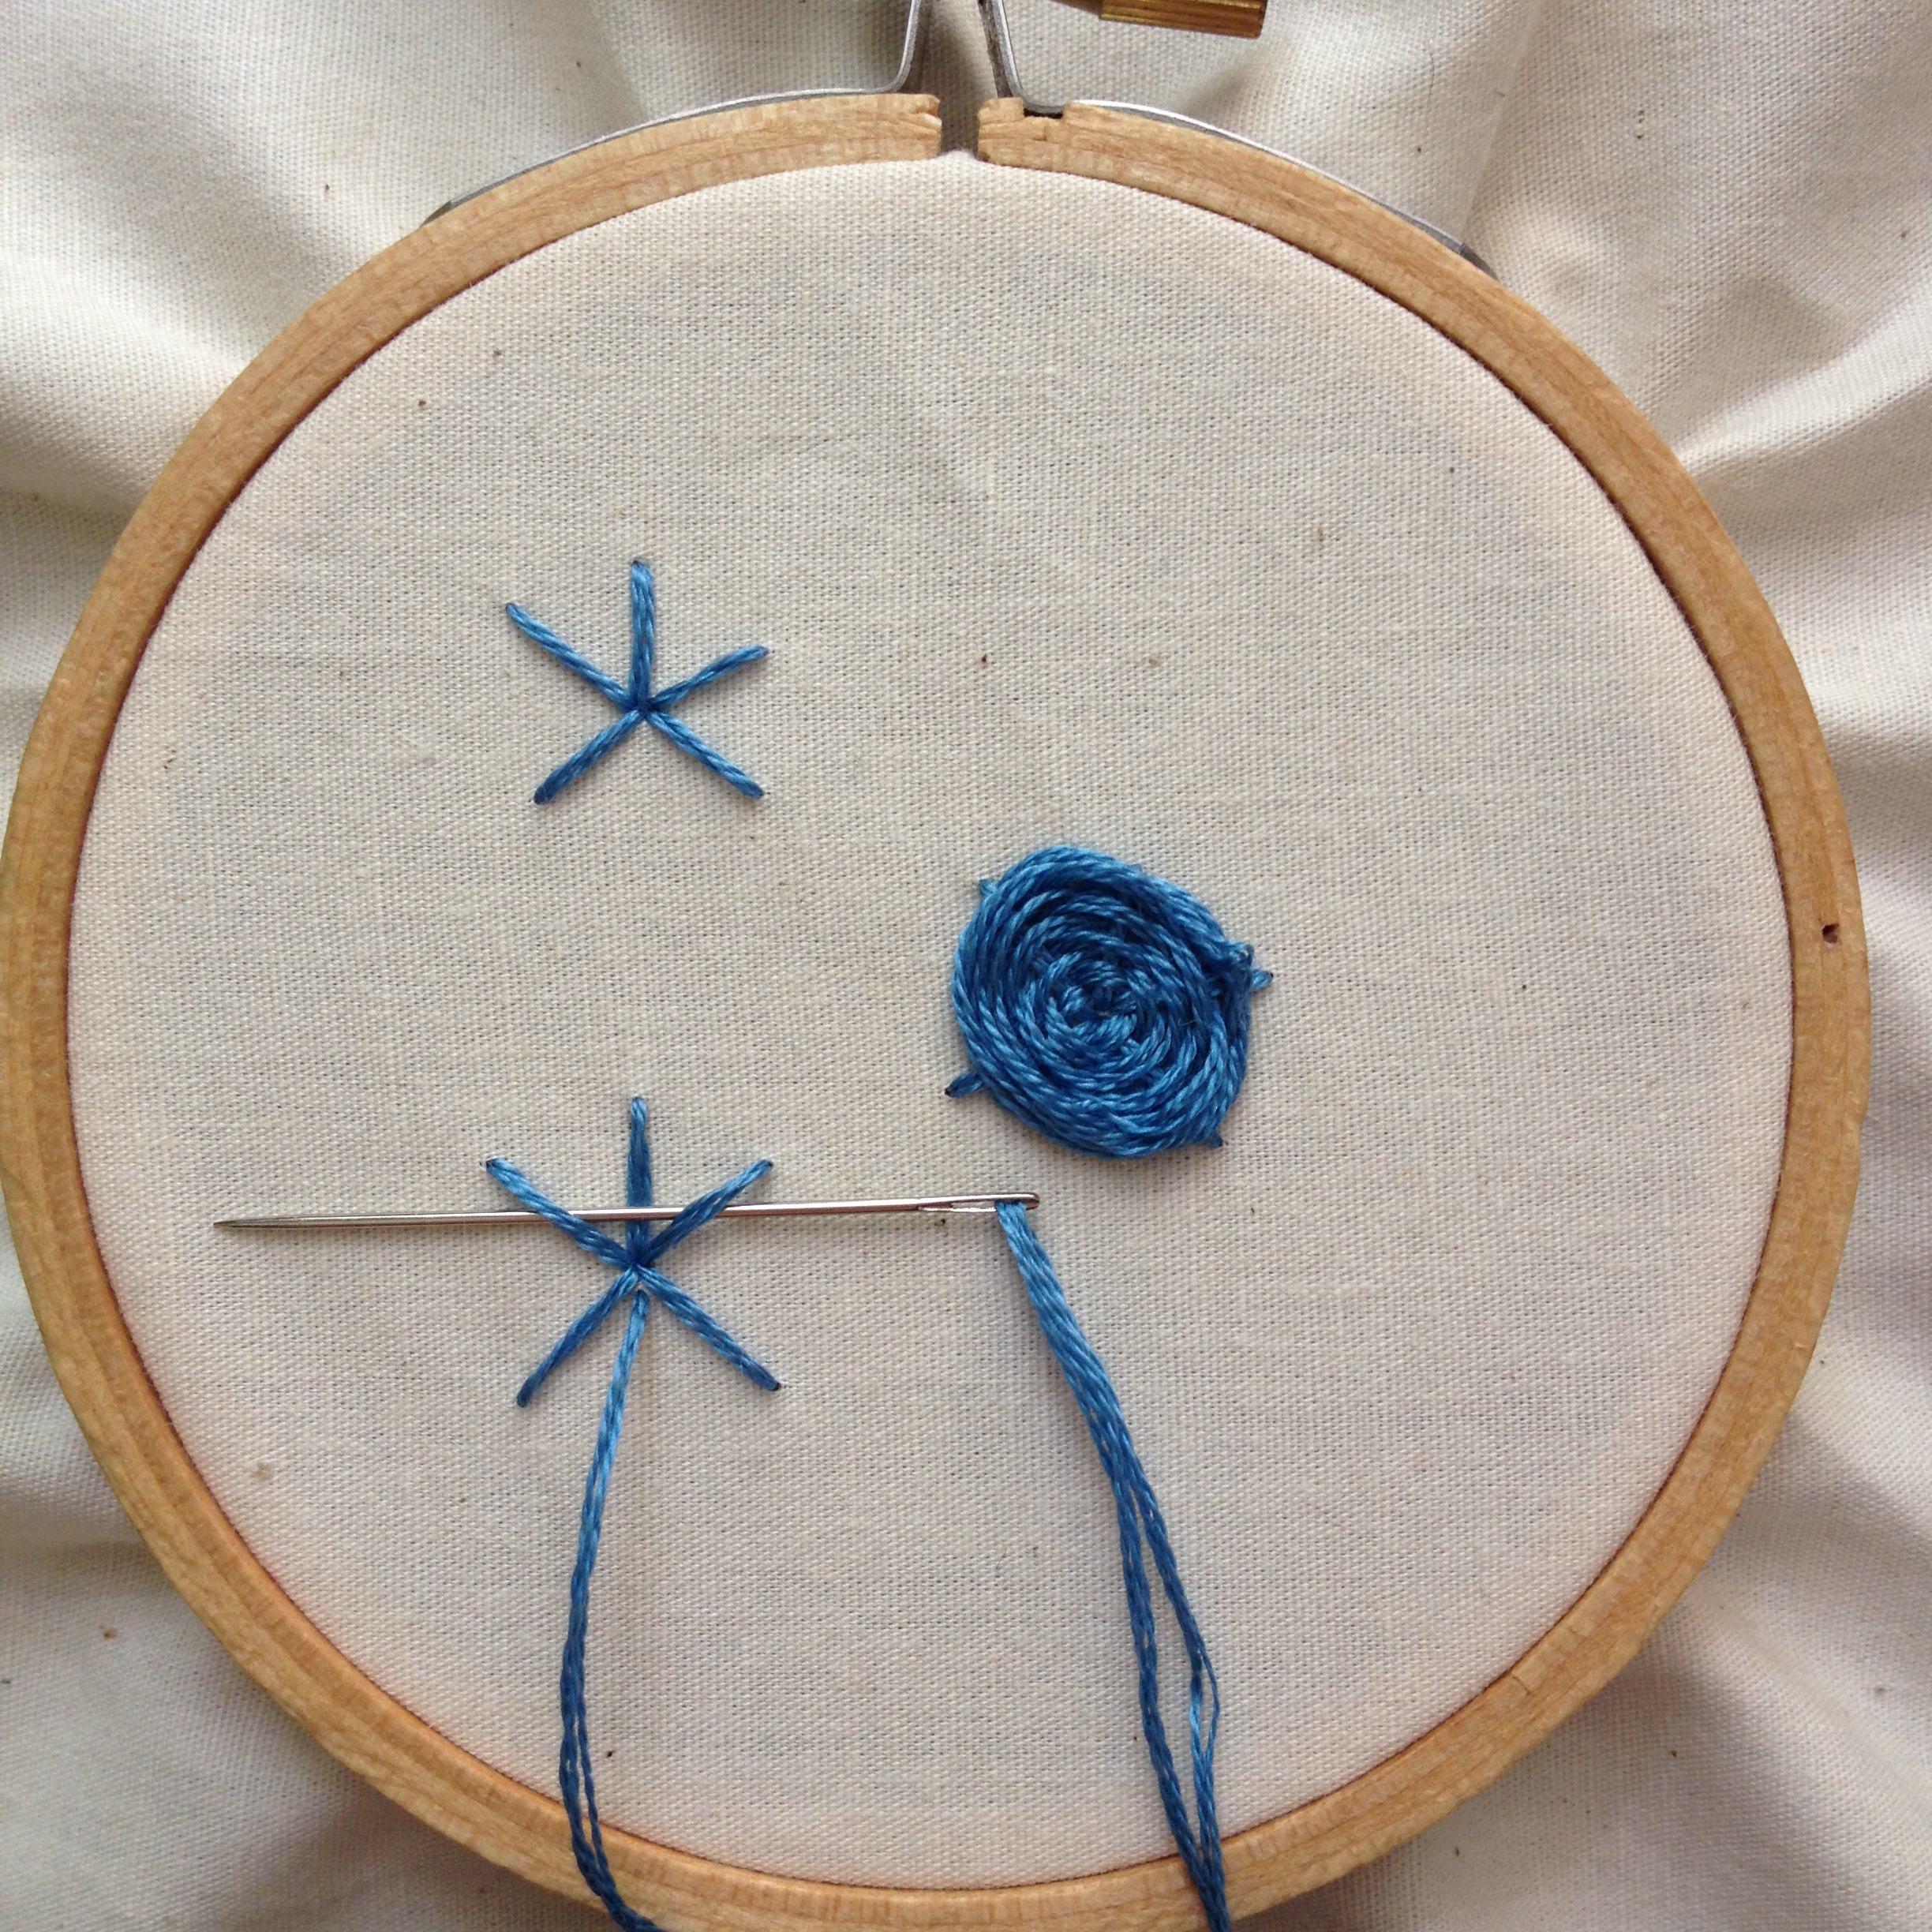
Here is a brief woven wheel stitch tutorial:
1- Make five even sized straight stitches that all share one point
2- Bring your needle to the front of the fabric close to the center of the star. Begin the weaving by going under and over the straight stitches. (You will not pierce the fabric while weaving)Take care to keep the layers of thread laying close but do not pull too tight;
3- Once the woven thread covers all of the straight stitches (in the image below, my straight stitches are not covered. Yours will be prettier!) , bring your thread to the back of the fabric to knot off.
Here are the printable PDF patterns and a stitch guide. I have included two patterns, the reflected image and the straight forward one. Look back to my first post in this vintage patterns series for information on transferring your image to fabric.
Thanks for reading! I hope you learned a bit of something new and are feeling inspired to stitch a vintage pattern!
Sarah
